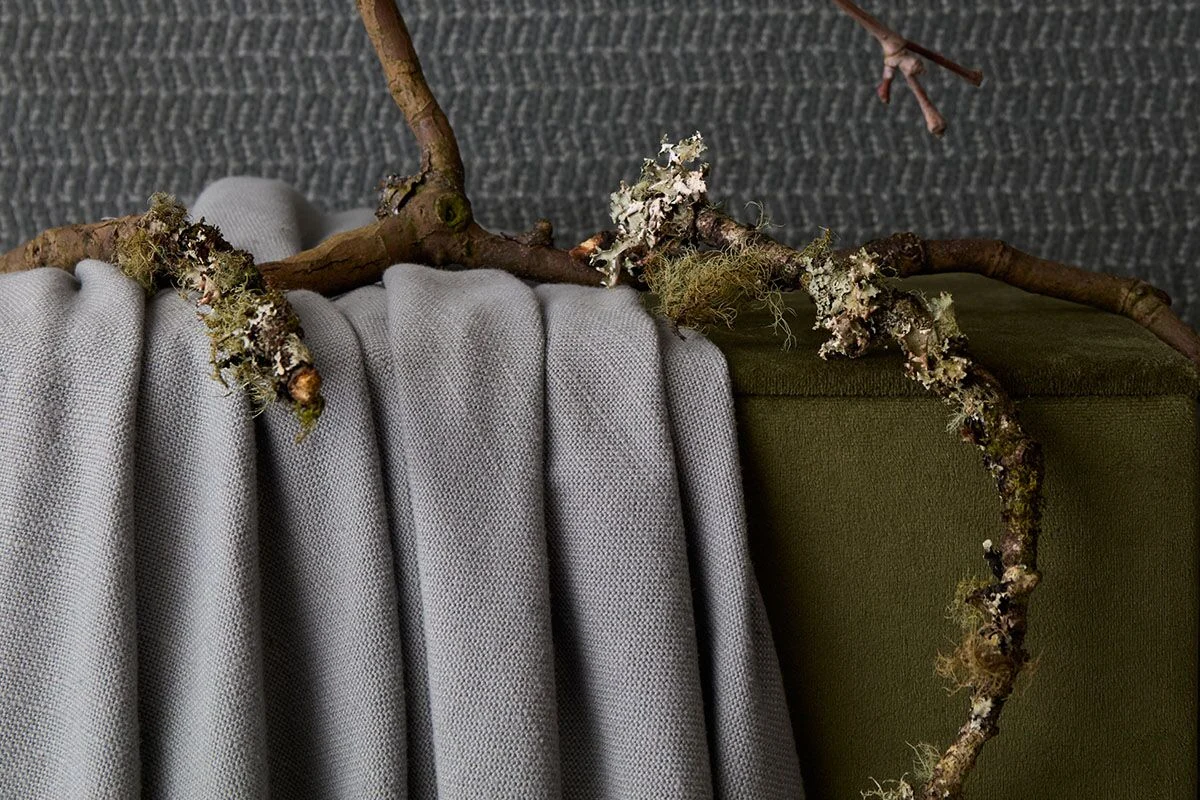


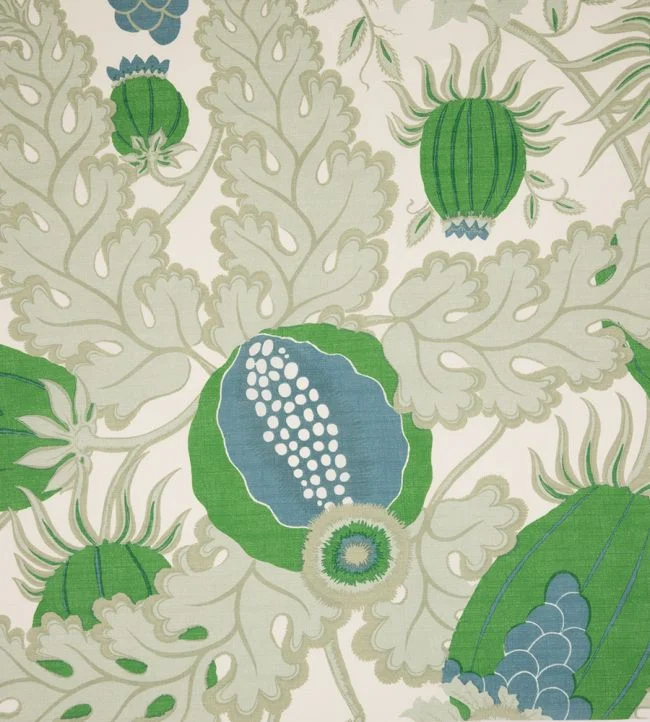


1. First things first – consider the materials you plan to work with in advance.
“A loose weave fabric might be fluid but can stretch and might be translucent. A tight weave fabric might be solid and aid in dim-out situations but might not bend well to curved lines of pelmets or drape fluidly for a swag or tail. A large pattern repeat may suit a long drop but could be lost on a shorter one, for example a pelmet. A flat braid can trim straight lines and mitred corners perfectly but might not bend around a curve. Both heavy and light fabrics can work with or without interlinings and thought should be given in the concept stage to determine the required finish and effect. A translucent fabric, if it requires seaming, might show it’s hem shadows…. If so, it will require a solid lining to counteract this, might the visible hem be adapted to become a feature or can it be avoided with a wider fabric? Consider, consider, consider.” – Jon Rhodes
2. Roman Blinds
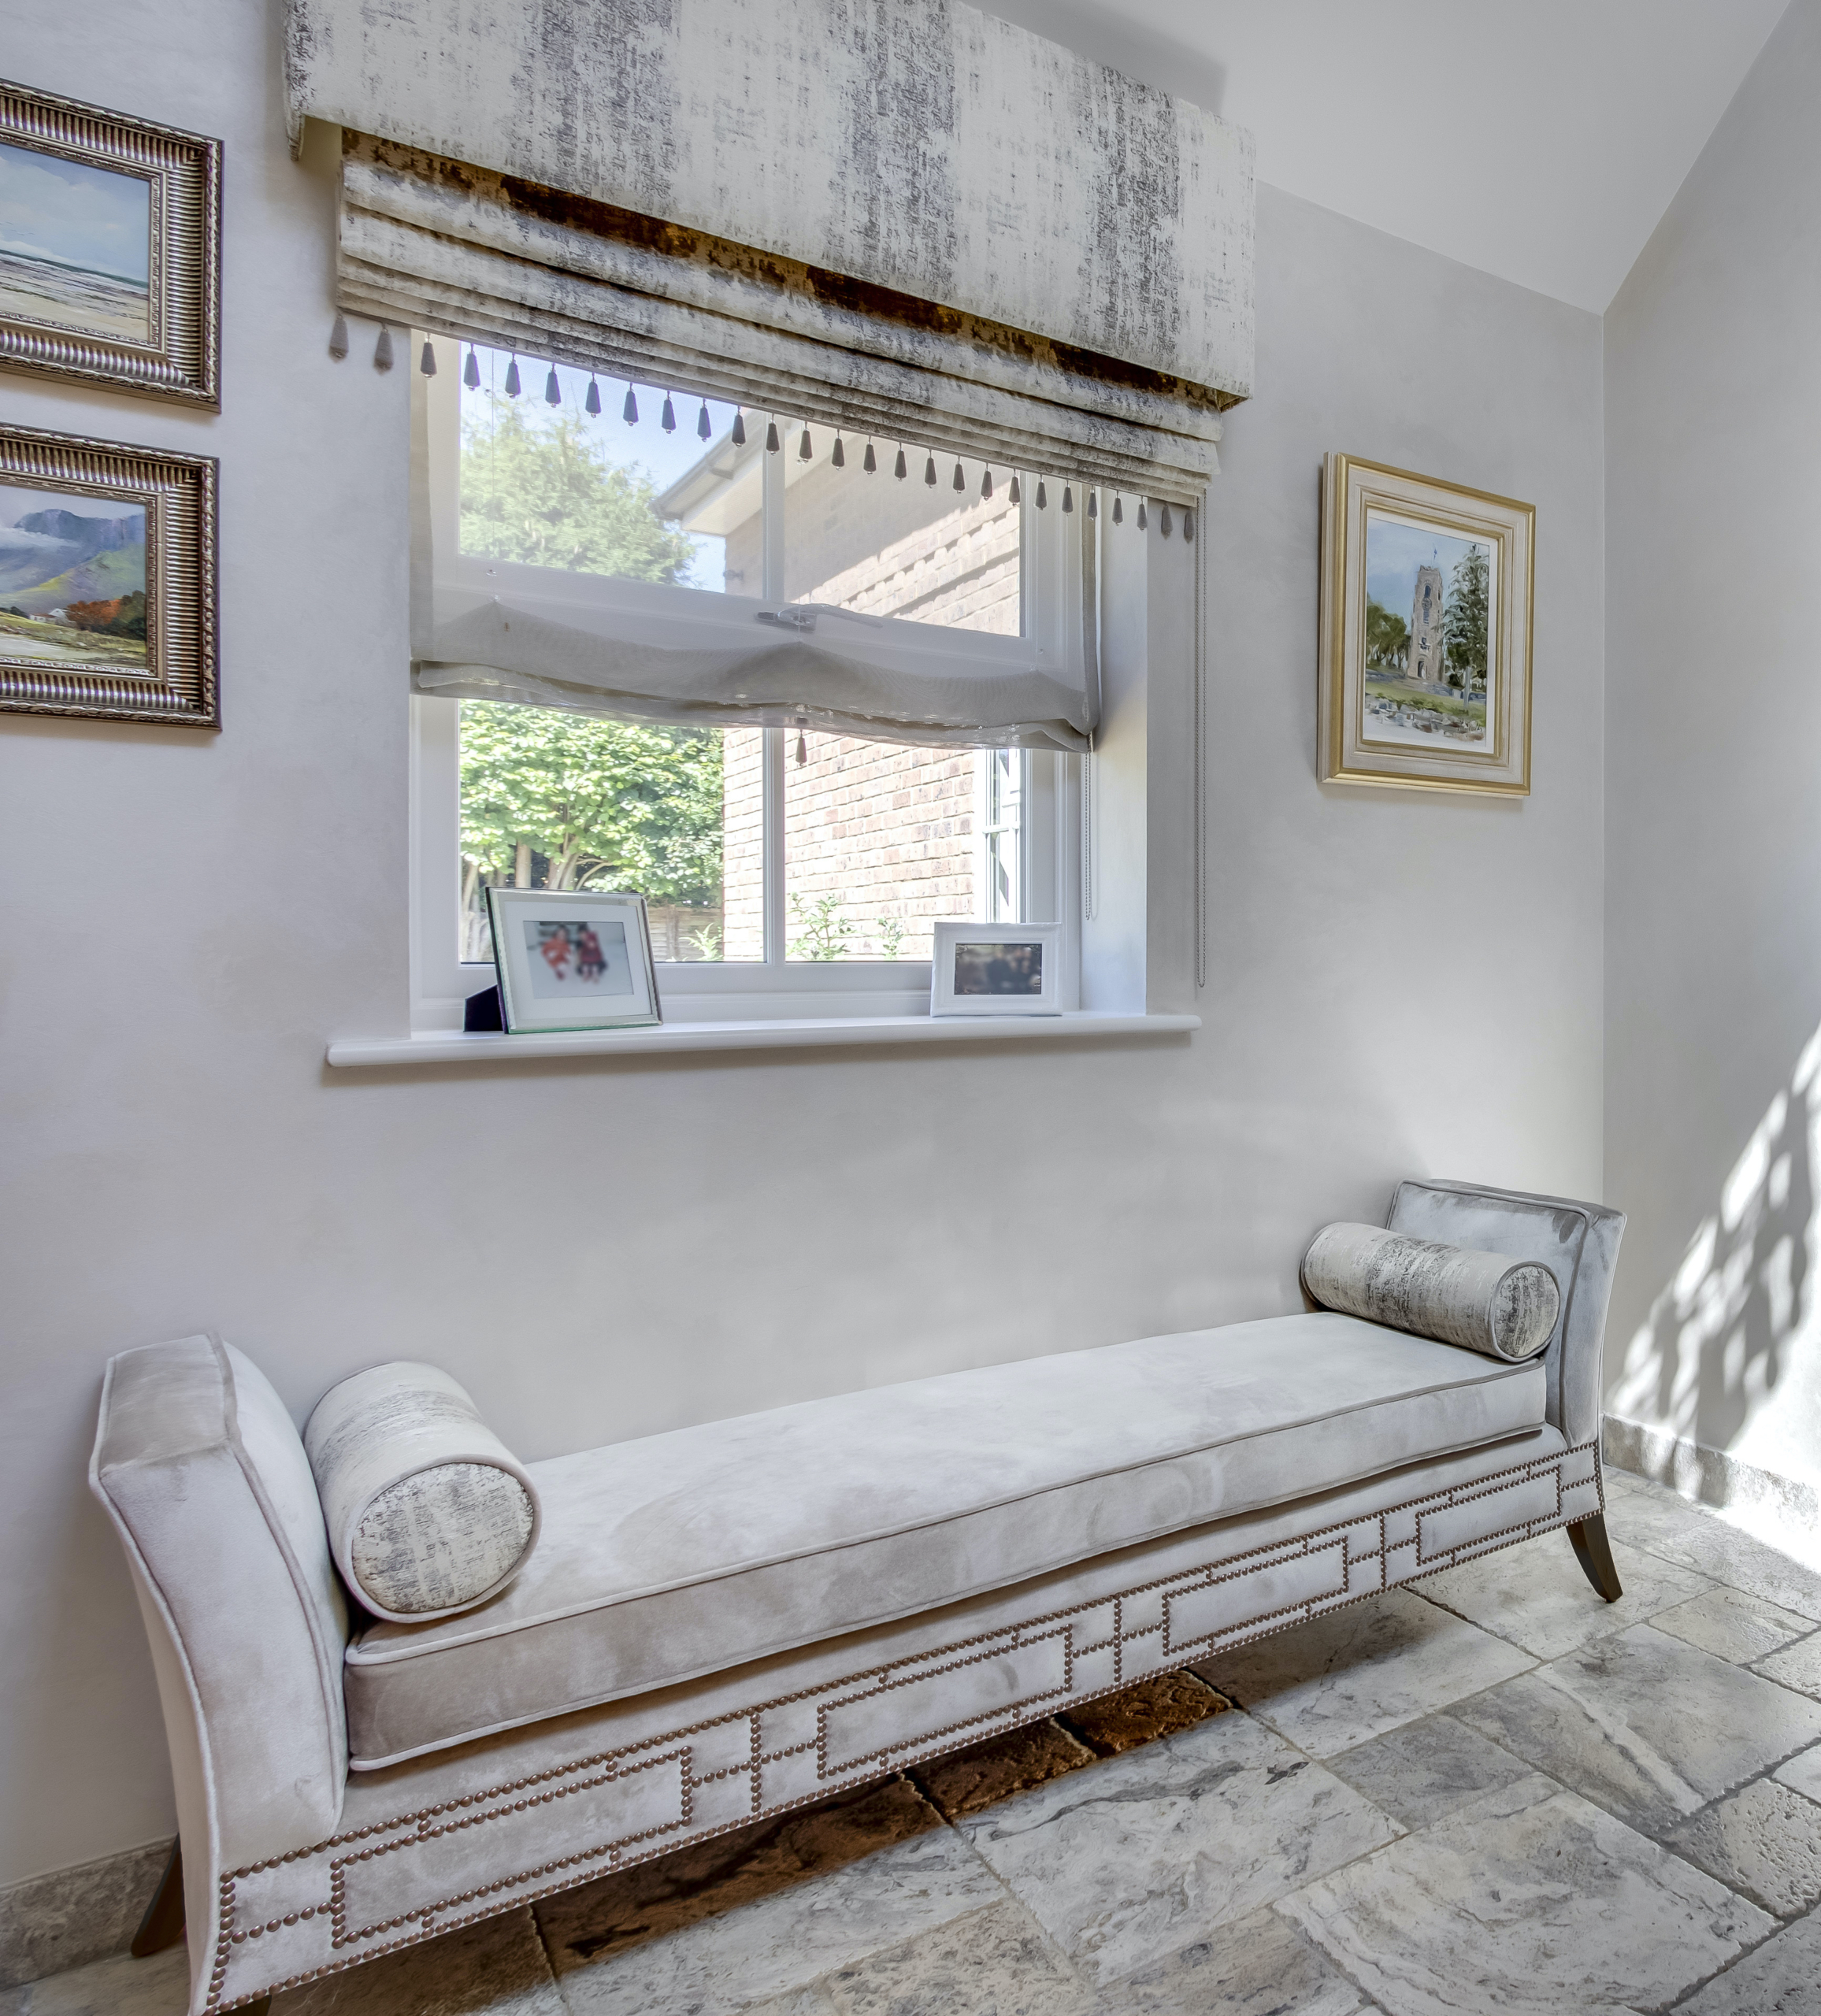
Top Tip: Always make your roman blinds as tall as possible. This is a really clever tip to conceal where the window stops as the eye and brain believes the window is much higher. If you are fitting a roman blind to window put as high as possible even if 50cm, 60cm or even 80 cm above!
It can be really fun having a patterned fabric in a roman blind like this as this can add excitement and interest in what would otherwise be a rather ‘gappy’ space above where the top of your window finishes and the cornice/ceiling, which is otherwise typically left unconsidered. Often privacy is an important factor, whilst you love the natural light coming into the room – you may not want everyone outside looking in! In this case a sheer roller blind inset into the window reveal can solve this issue, it also softens the light in the room to lose the sun’s glare. See our example at our showroom.
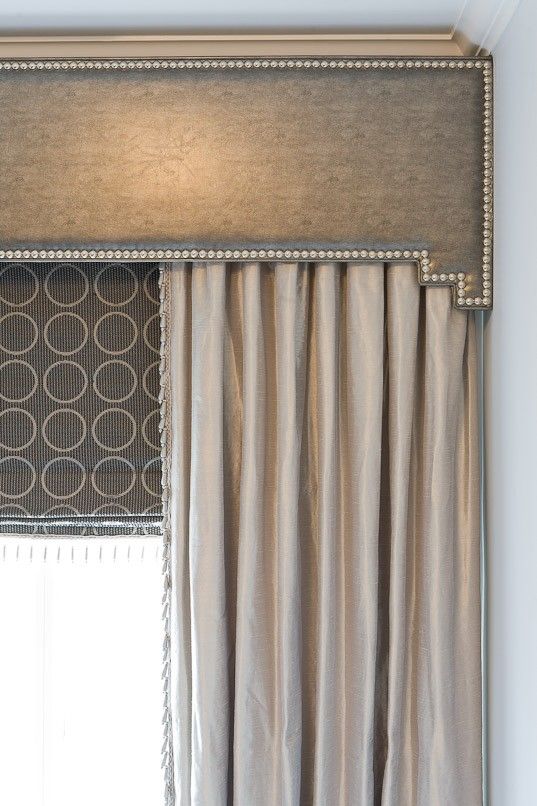
3. Pelmets
If you are considering pelmets, we would recommend placing these as close to the ceiling a possible – heightening the room. “In terms of scale; the rule of thumb is the pelmet drop should be calculated as 1/5 of its curtain drop. Of course; rules don’t always apply…” – Jon Rhodes.
4. Break Rules
“Whilst rules can serve as guidance (which is important that your curtain maker has a full set), in the right hands the perfection is found in breaking the rules to achieve what is right for the job in hand. The exception to the ‘rule breaking’ rule is working on designs for historical accuracy, in which case it is essential to know, study and employ the design elements of the period” – Jon Rhodes.
5. Curtains
Top Tip: Make small windows look longer and wider. Position the curtain pole as high as possible to make ceilings feel higher! Try and make the curtain stack about 40cm if possible either side of the window. This will make the window reveal feel wider which in turn makes the window feel larger; it’s all about creating a beautiful optical illusion. If you are after a more contemporary cleaner and sharp look – install the curtain track on to the ceiling to increase the curtain drop even more. This helps to decrease jarring of lines – the fewer lines, the neater and cleaner the look. You can request the track in any RAL colour to match your ceiling to make it look invisible. However, if you are embarking on a new build, ask your designer/builder to ensure the track is recessed into the ceiling for the ultimate sleek finish! We have examples of this in our showroom window where we have installed a track for our beautiful sheers from our Italian fabric supplier.
We have hidden the tracks and headings behind the cornice, creating a considered finish and hiding the ceiling tracks.

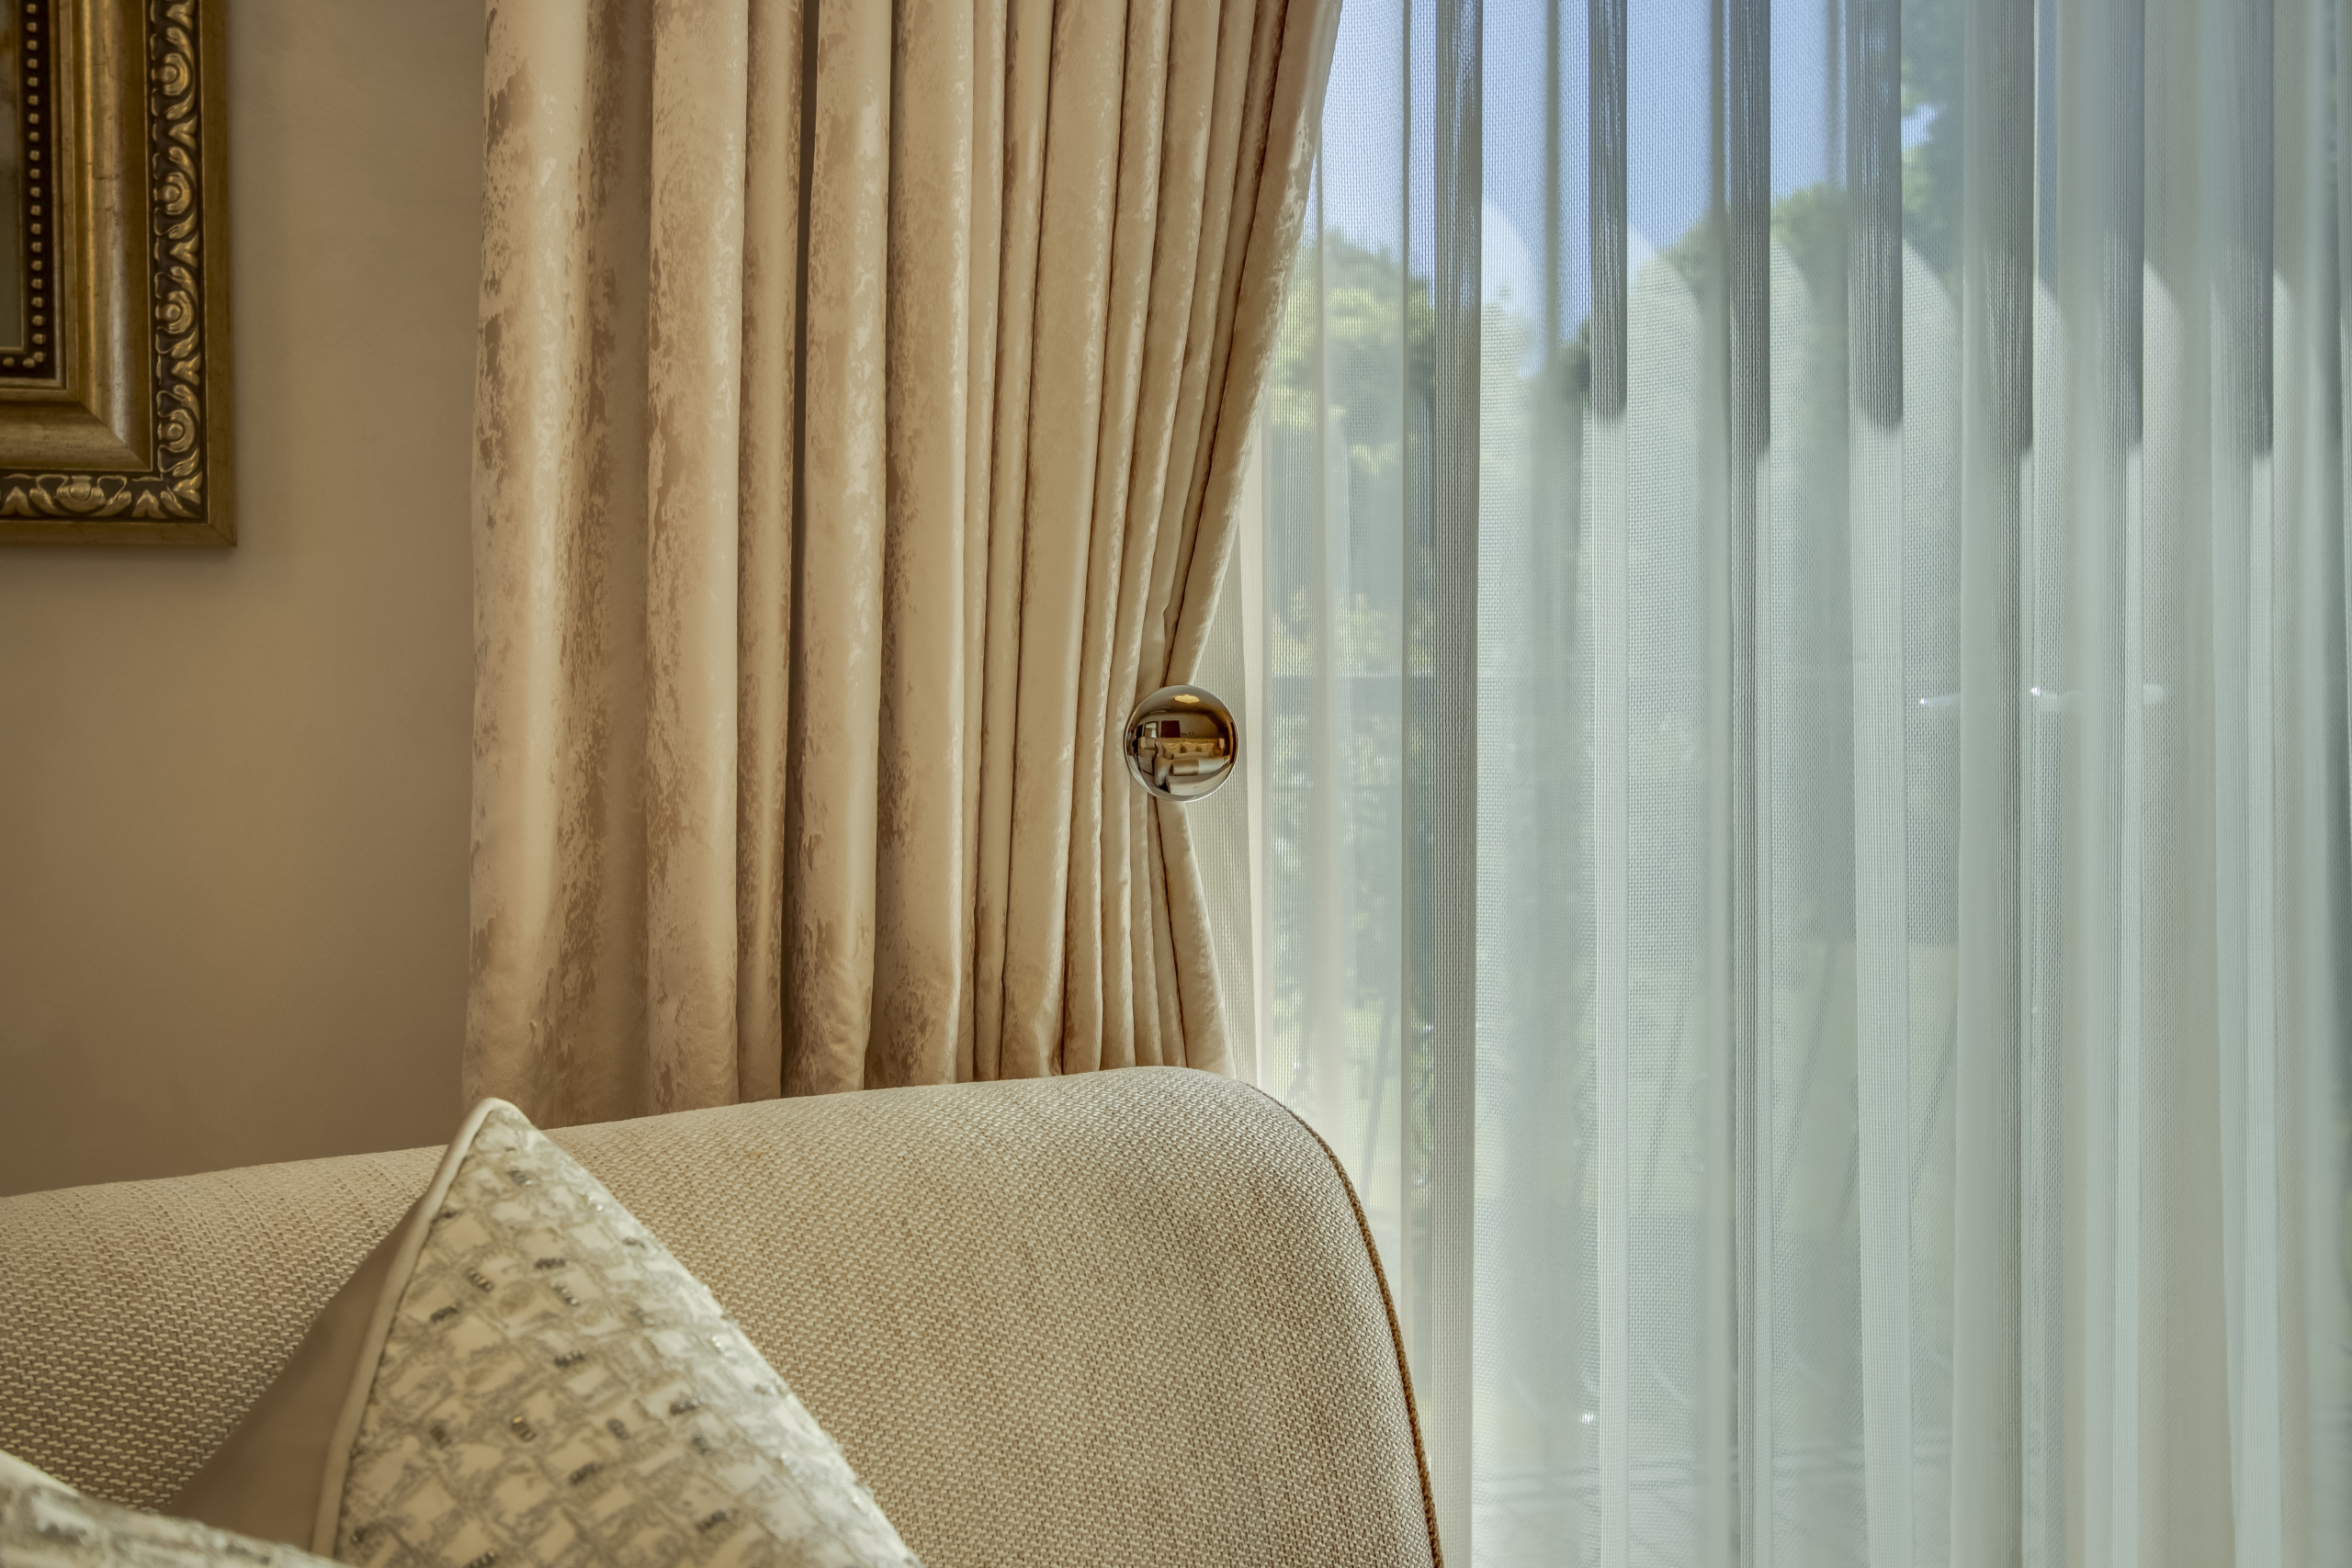
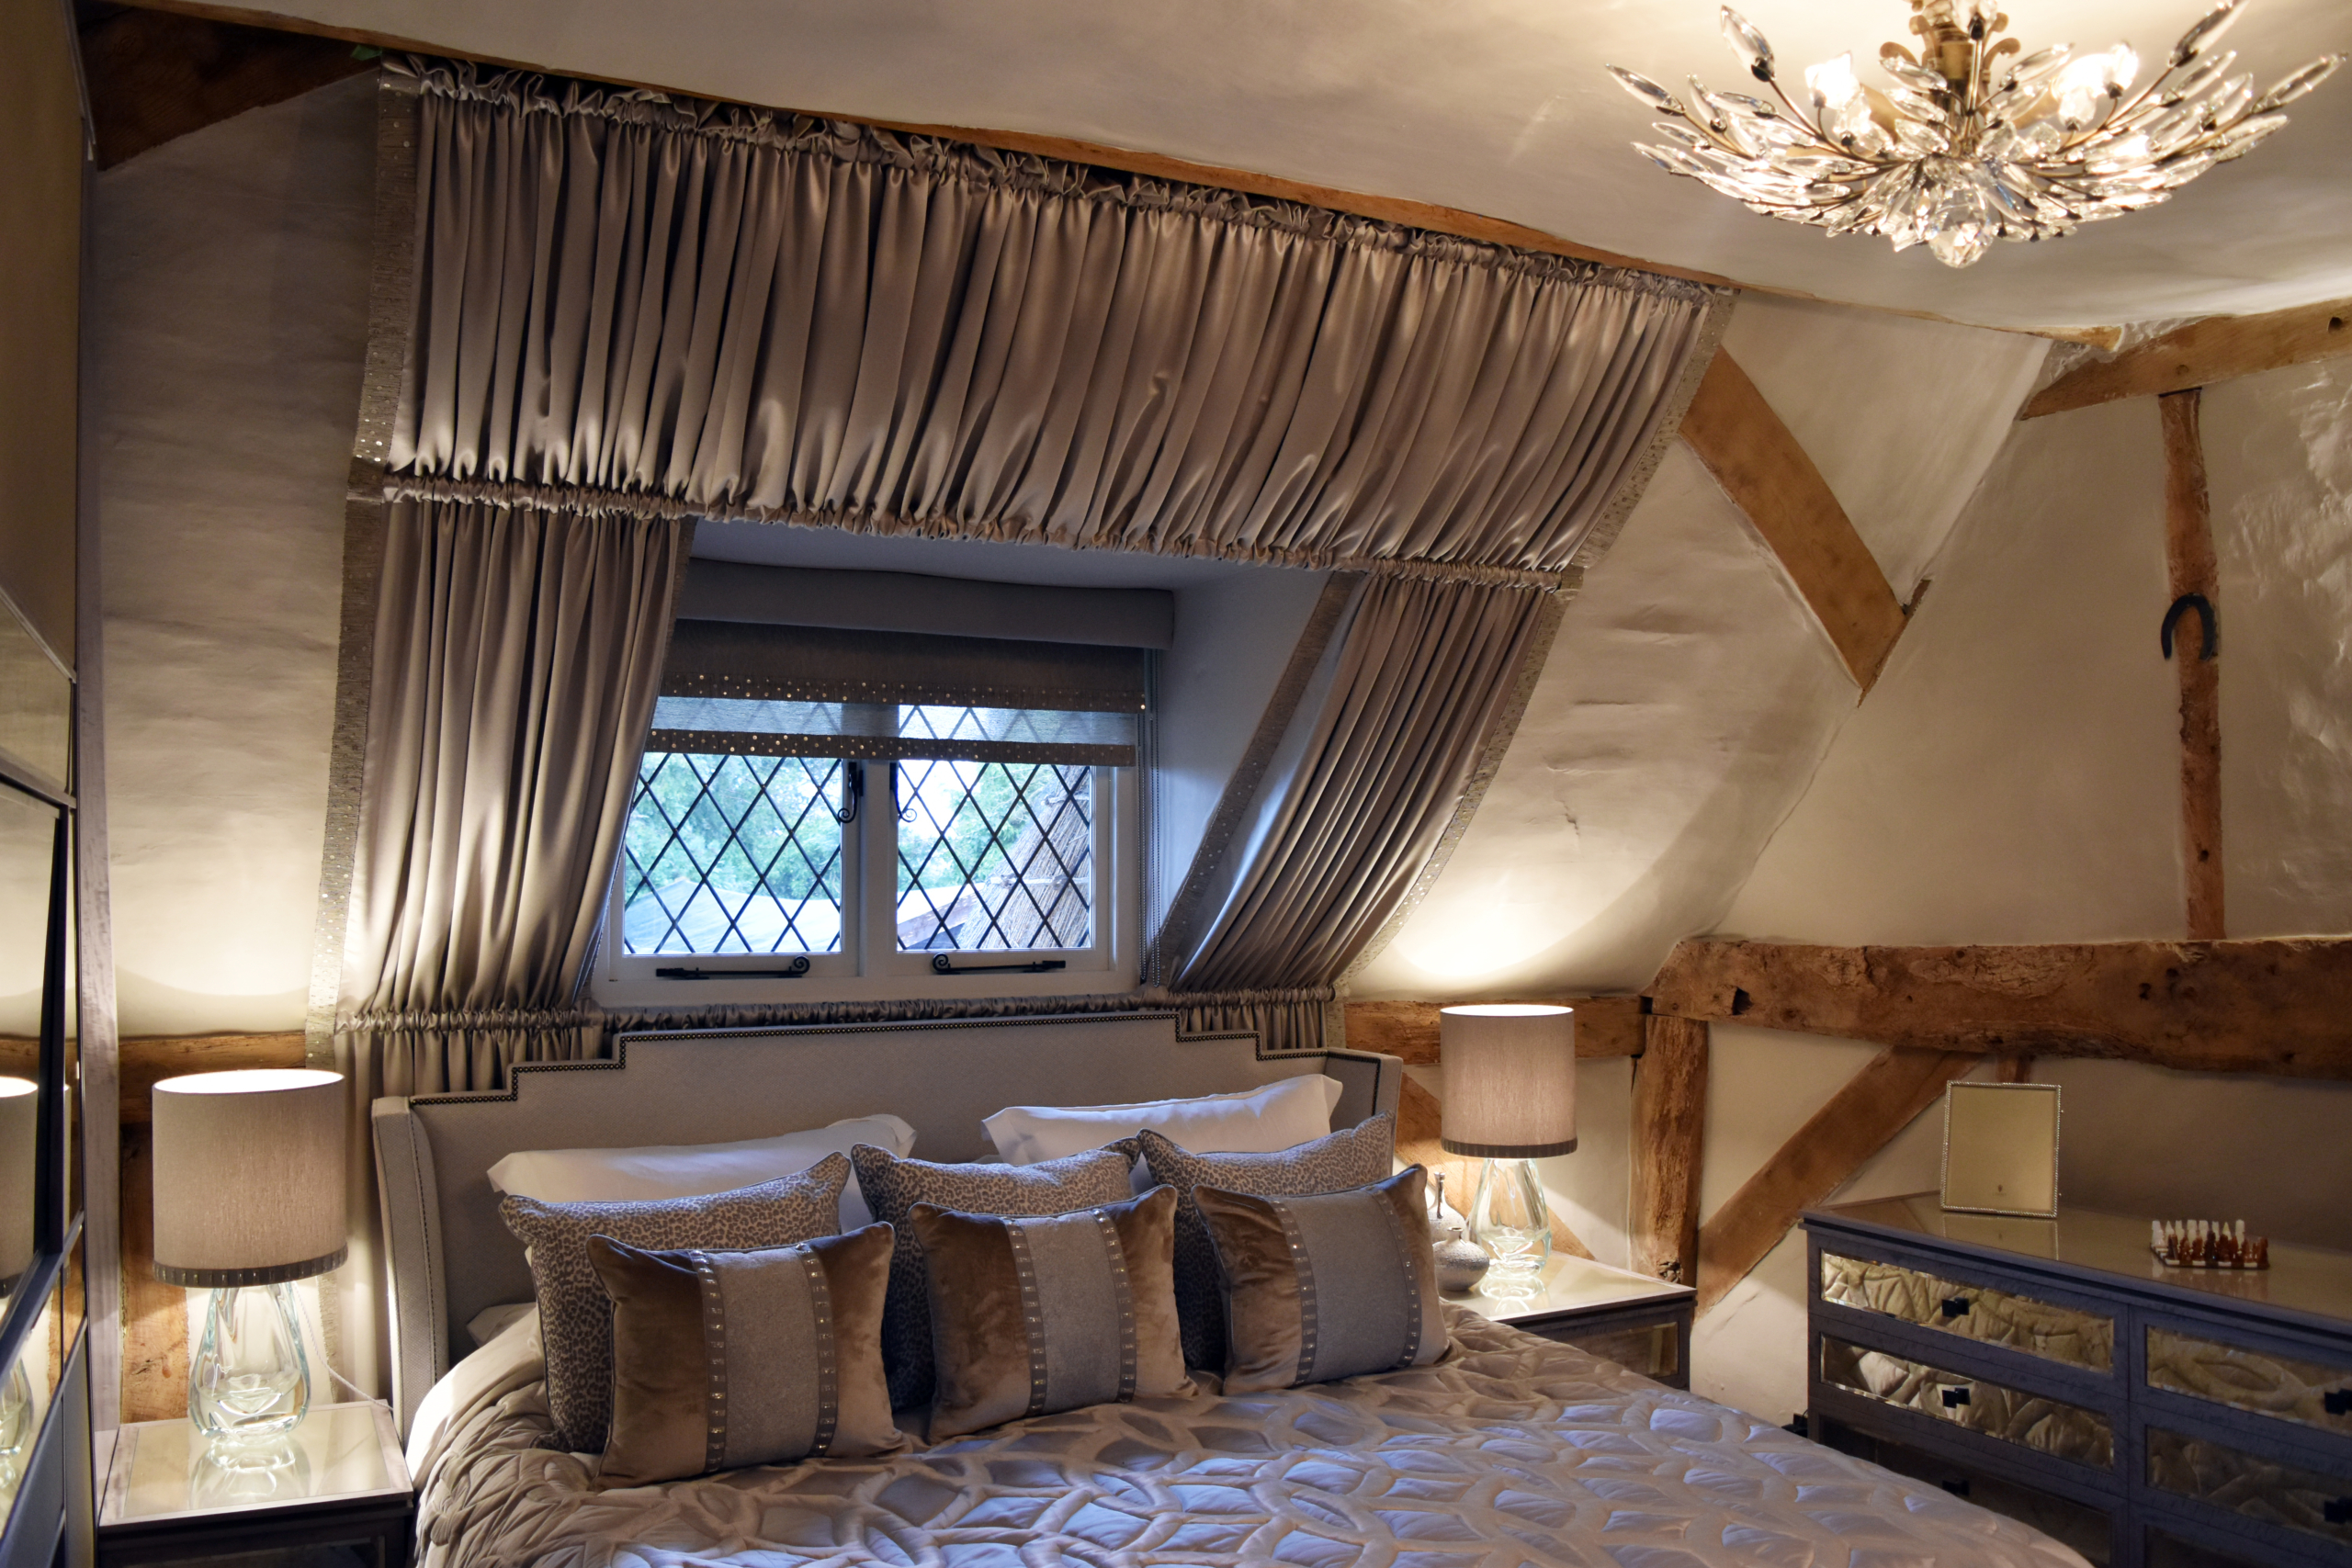
6. Love Layering
Any fabric is suitable for layering – use the sheerest fabric (most see-through) in the window and bring fabrics more and more solid/heavy as you come into the room. Wool/sheer is beautiful as a sheer. Or layers of sheer can look superb as it diffuses light as sun comes across the room creating shadows throughout the day. The acoustics of the room are also heavily impacted by your window treatments – the more layers, the more encompassed and tranquil your surroundings will be.
7. Lining and Interlining

Why line and interline? There are many of reasons as to why! Curtains will always last longer and hang better/ look more scrumptious and scrupulous when lined and interlined. They also protect the fabric from UV rays which disintegrate the fabric over time. There are only a couple of reasons for the window treatments not to have interliner.
For example, when using a beautiful fluid sheer fabric where you would not want to spoil that with an interliner as the natural light is supposed to flow through it. Also, wools look better unlined as they have a certain fluidity to them – however, that said, they do turn into something else when you do line and interline them – creating a much more luxury item whilst also protecting them from sun rays. “Do not use blackout lining – this will destroy the drape of the curtain. Do employ the traditional technique of Italian lining to achieve blackout, it is far superior.” – Jon Rhodes
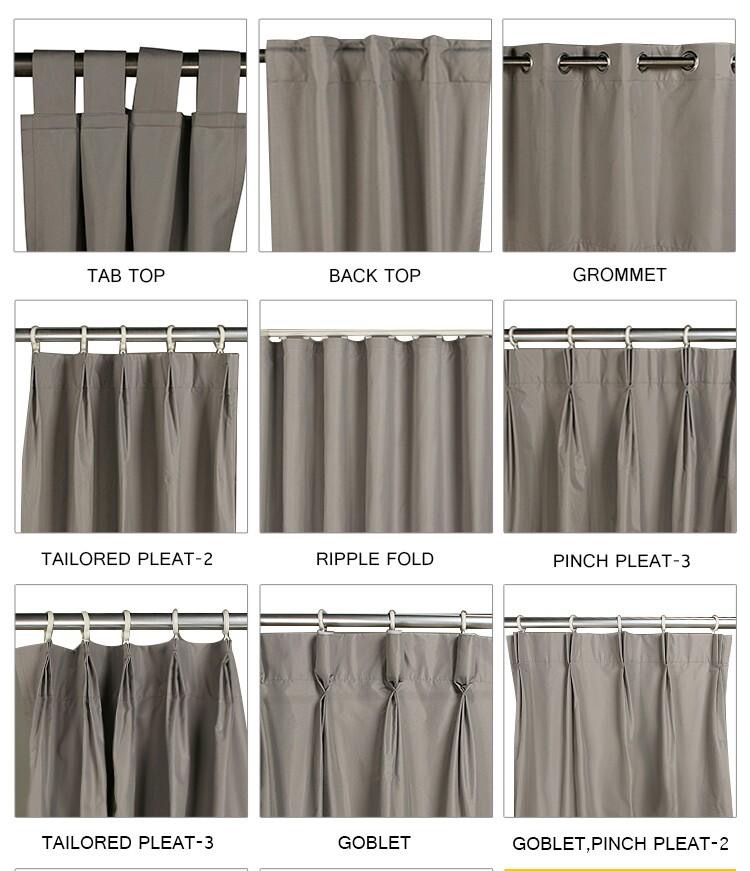
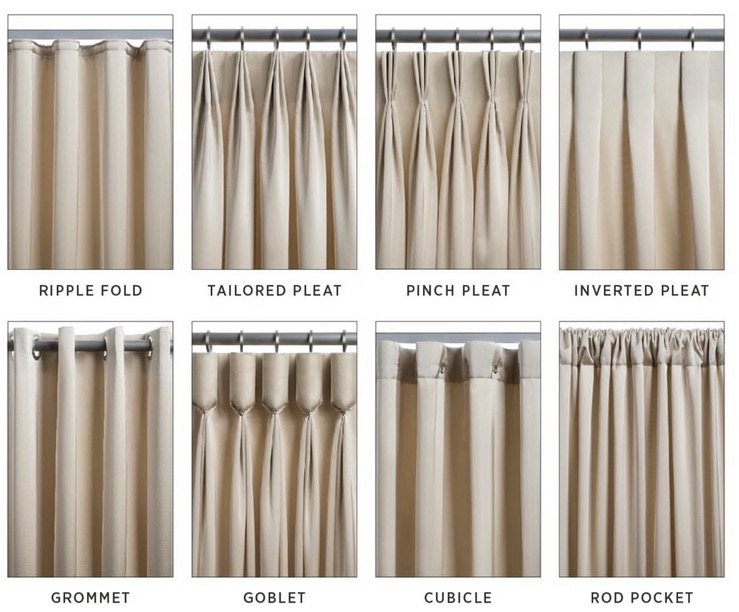
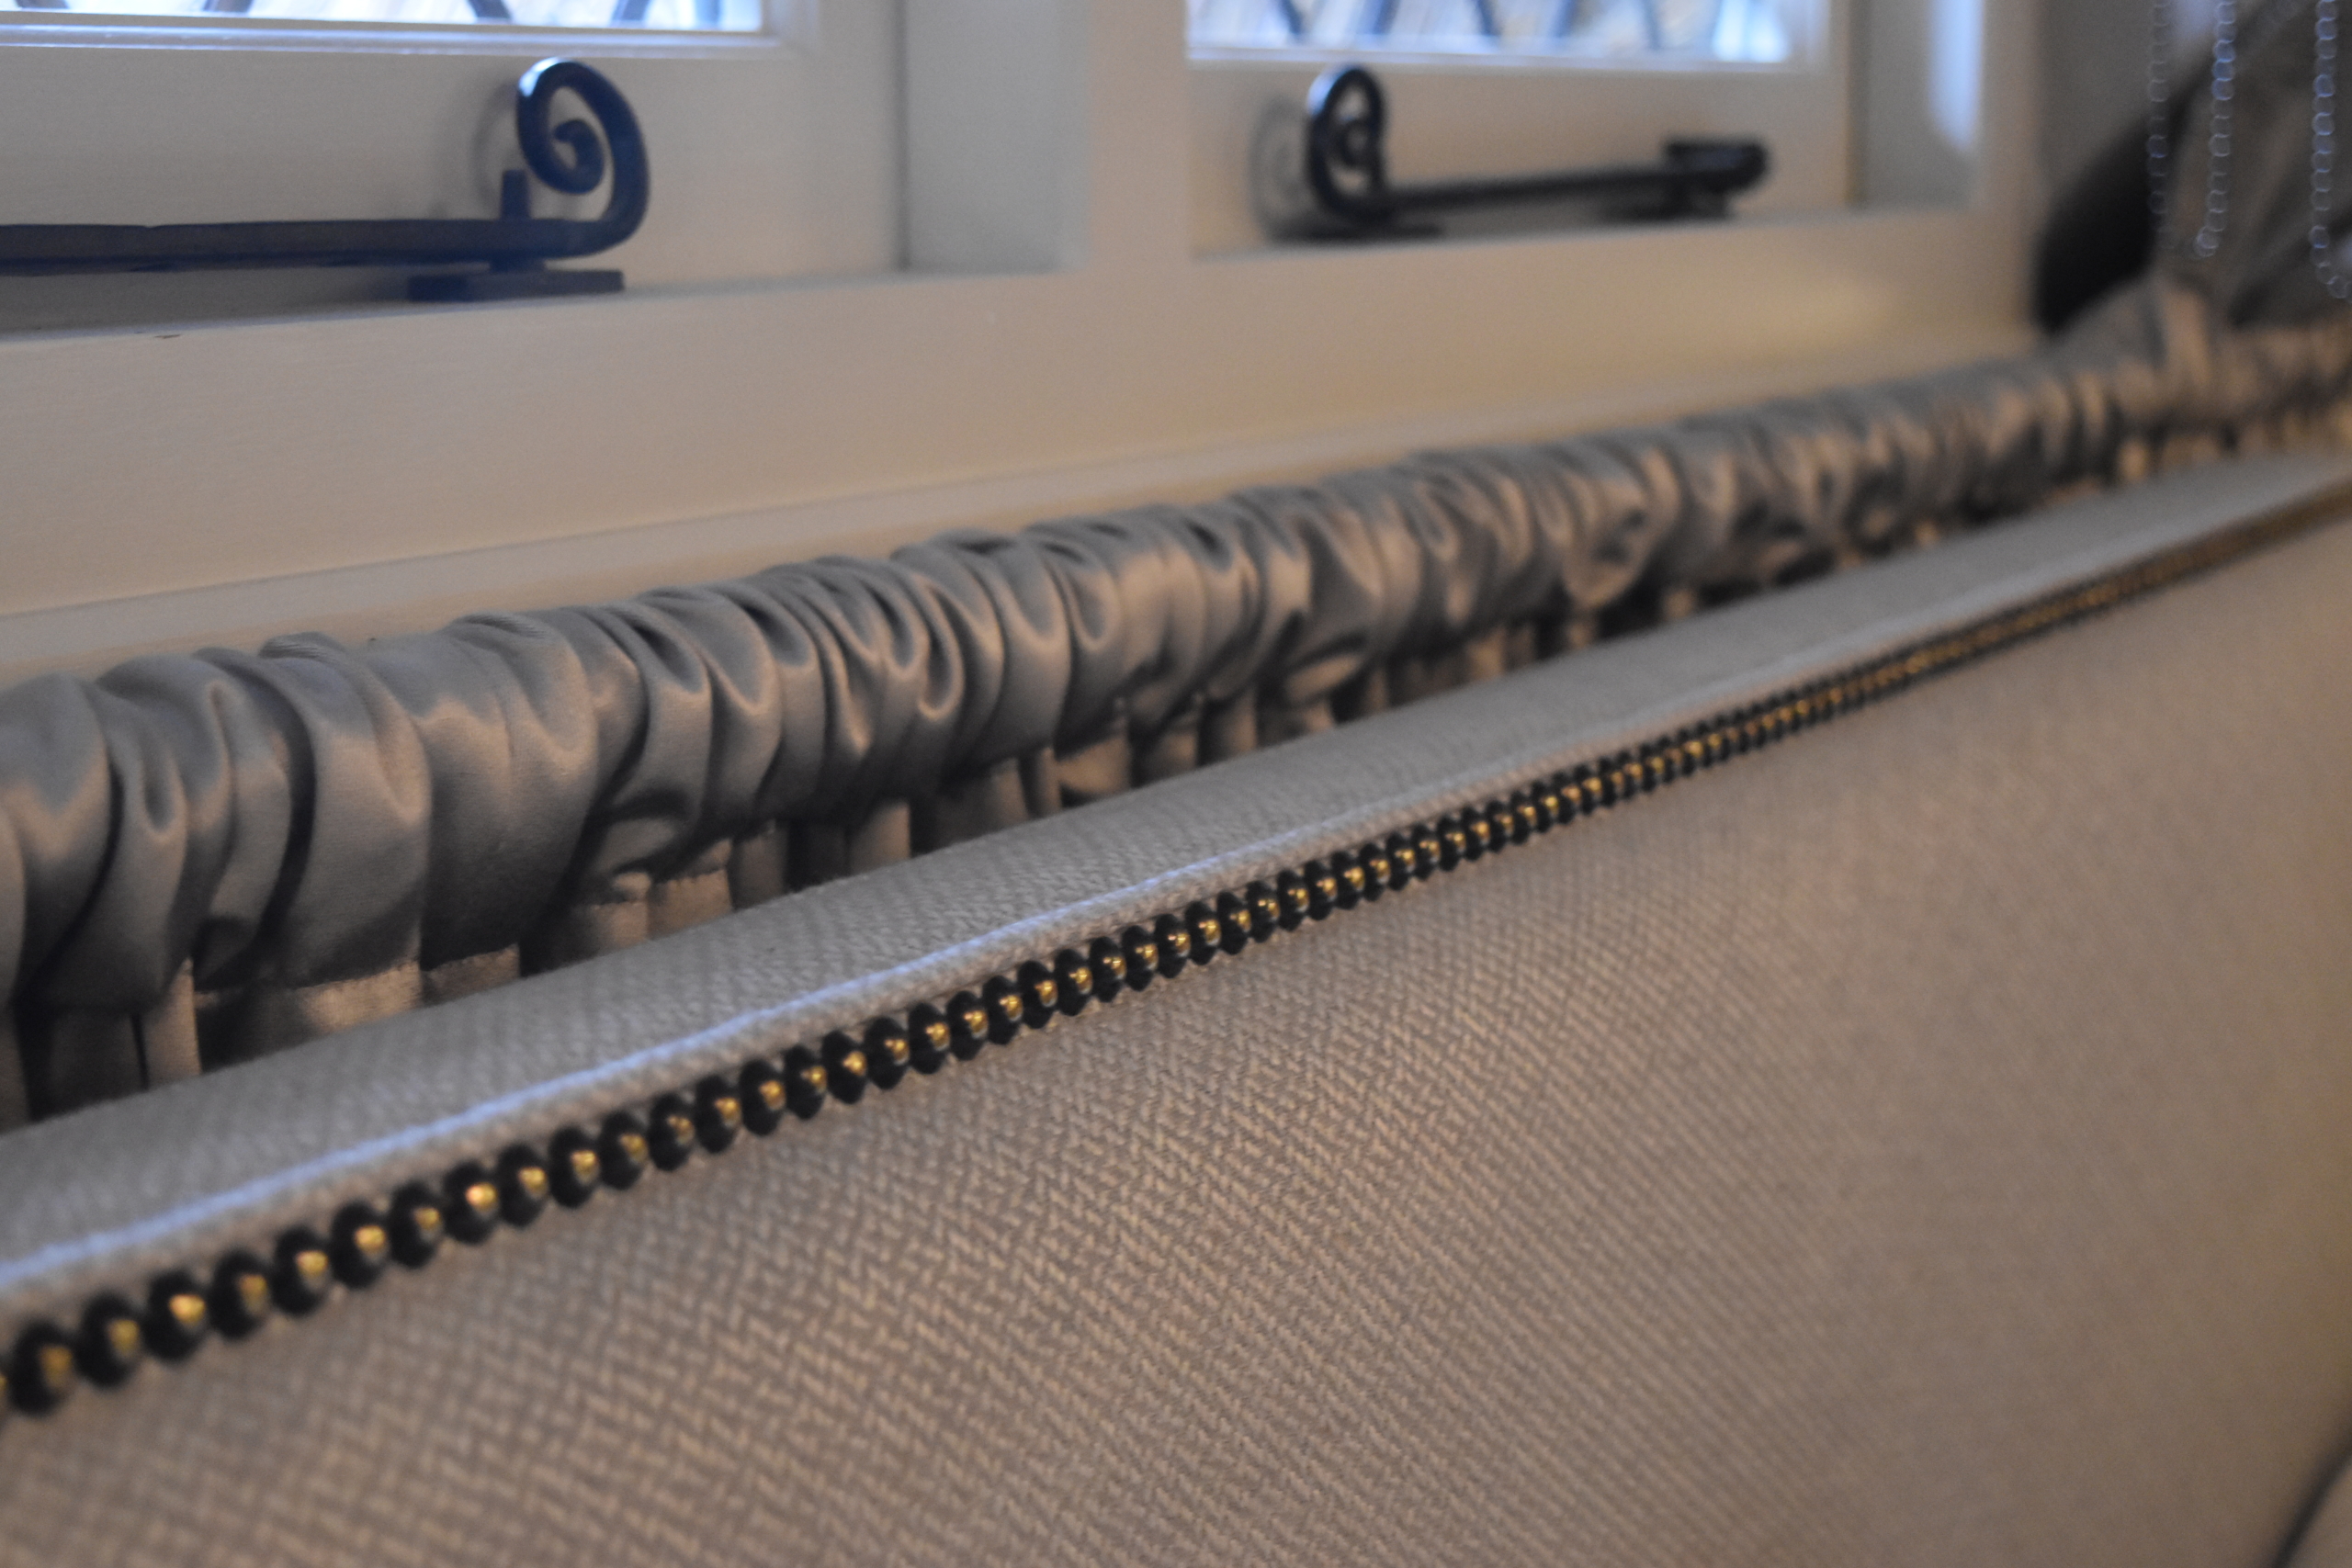
8. Curtain Headings
Headings of curtains should always be made handmade – not out of a box! The heading is the entity that tailors the curtain and make it looks sharp, purposeful and chic. And this is usually done with a Buckram fabric that is sewn into the top of a curtain. Every type of pleat gives a different look, feel and finish – the pleat is dictated by fabric and style of the room. The fabric and the room talk to the designer/curtain-maker to specify the pleat. Always ask expert advice to avoid a costly mistake! A very familiar heading is the Classic French Pleat (triple) which is now slightly outdated. We would go with a Two Pleat, simple Cartridge Pleat (aka Cylinder Tube Pleat) or Inverted Pleat which is very simple and understated but also very fluid. The Inverted Pleat is a great option because it is not too fussy on the front of the curtain – just a fold and that’s all you see. All these pleats look very attractive hung from poles. The on-trend pleat is called “Pigs Feet” unglamorous name we know! But widely used across the pond in the USA – they almost don’t do other types of pleat. Widely used by the infamous American designer, Jeffery Bilhuber.
10. Contrast Lining and Trimming
Deliciously layered, try and always use contrast trim and lining, or an inset trim/braid – add to the depth of the window or product of pelmet… do not just restrict just trim to cushions, use the design language of the room and bring it back to the window – it’s a bit of fun and creates cohesion in your design scheme.
11. What is one of our curtain maker’s favourite element to a window treatment?
“The maddest one was a shaped lambrequin pelmet – and on the same note, one of the smallest lambrequin pelmets we made for one of your projects!”
 Creating the template…
  Finished mini Lambrequin pelmet!
 “The largest one was 5m wide and nearly 2.5m high shaped. Classic layering up of pelmet, curtains and blinds – no sheers in this example however there should have been sheers as the outside view was not great!” – Clemency Rittner. For a large lambrequin pelmet, it needs to be beautiful on the inside as well as the outside, isn’t that ironic! In large windows where for example a sofa is beneath the window you can look up into the pelmet – therefore trimmings, trimmings, and more trimmings to in an inch of its life would be highly recommended!
12. Design Cheats
“Perhaps you may wish to minimise the size of the window dressing to make way for furniture placing or art? Dress inside the reveal or keep tight to its edges, using French returns of not. Do you want to centre and off-centre window to fit a furniture plan? Add the required extra width to the relevant sides, dress with a pair of full-length outer curtains and add a single inner curtain to the extended side, to cover the wall between window frame and outer curtain. This trick can be adapted too all design styles with double poles or pelmets and help even up symmetry in a room. Understandably, such design elements will have an impact on light and views which would need talking into account, but these tricks can be very useful in rooms for difficult windows.Your designer will discuss such elements with the curtain maker.” – Jon Rhodes
13. Timber Venetian blinds
“If you want to lose an awkward window? Use a timber venetian blind that is factory painted the same colour as the surrounding wall. This can work well when the focus is on a more important windows in the room are dressed, and a small odd side window can be made to ‘disappear’ which can in turn make a furniture plan, or other, work.” – Jon Rhodes
 Always sketch it out!
 14. Top Tip – Always sketch it out!
What harm can it do? No matter what your sketching skills are like – you can begin to create an image in your mind of the look you want to achieve. Pass this over to a professional, and we can guide you how to maximise your design to fulfil your design aspirations. See our design concept for a previous project above! At our showroom you can see first-hand the layering of window treatments and how they can vastly improve on the aesthetic of your room – so pop in and have a look (as soon as lock down ends!) In the meantime you can pass by our showroom window and peek inside! Thank you to Clemency Rittner Soft Furnishings and Jon Rhodes: Curtain Makers to the Trade for sharing your tips and tricks!
Finally, a huge thank you to Clemency and her skilled team for creating the beautiful set of curtains for one of our E-Design clients complimentary!
The clients are both NHS Doctors and this was something Clem and team wanted to do to contribute support for the incredible efforts of the NHS!
Questions and Answer?
If you have any questions please do message us and we will respond via email or instastories. Call us on 01442 818122 or email us at [email protected] Stay safe and well xx

19th July, 2025

14th March, 2025